Do Multi-Zone DIY Mini Splits Take a Full Weekend to Install?
Short answer: often, yes—and sometimes longer. A straightforward two-zone project may fit into a weekend for a prepared homeowner with help, suitable mounting locations, and a compatible pre-charged system. But “DIY” does not mean every part is simple, tool-free, or exempt from electrical and local code requirements. Three or more indoor units, difficult wall penetrations, long line set runs, or a new electrical circuit can turn a weekend project into several days of work or a job best handled by a professional.
The biggest scheduling mistake is counting only the time it takes to hang the indoor heads. Planning, mounting the outdoor unit, routing and protecting refrigerant lines, making electrical connections, sealing penetrations, and checking operation all take time. Here’s how to estimate a multi zone mini split install time realistically—and how to compare equipment, efficiency, and cold-weather performance before you commit.
What “DIY mini split” means in 2026
In 2026, a DIY mini split generally means a system designed for homeowner installation, often with pre-charged refrigerant lines and fittings intended to reduce or avoid field refrigerant charging. It does not mean that every system can be installed without specialized knowledge, that all connections are foolproof, or that electrical work is automatically covered by DIY instructions.
Read the exact model’s installation manual before buying. “DIY” can describe a particular equipment line or connection system, not every product sold by the same manufacturer. Multi-zone equipment also has to be matched correctly: the outdoor unit must support the number and capacity of indoor units you plan to connect, and the manufacturer may limit combinations, line lengths, and elevation differences.
Local rules matter, too. Permits, inspection requirements, disconnects, wiring methods, and overcurrent protection can vary. A homeowner may be allowed to do some work in one jurisdiction but not another. If the project calls for a new circuit, panel work, or wiring you’re not qualified to perform, budget for a licensed electrician. A pre-charged refrigerant connection does not make an electrical installation code-exempt.
How long does a multi zone mini split install take?
Use these as rough planning ranges, not promises. The times assume a prepared work area and no major surprises; they do not include waiting for a permit, an electrician, missing parts, or repairs to hidden wall damage.
Project Typical hands-on time What commonly stretches the schedule Two indoor units, simple exterior access About 1–2 days for a prepared DIY crew Precise placement, line routing, electrical work, and setup checks Three or four indoor units Often 2–3 days or more More wall penetrations, longer routes, branching and organizing multiple lines Attic, crawlspace, masonry, or concealed routing Highly variable; may take several days Tight access, fire-stopping, condensate drainage, patching, and weatherproofingA two-zone setup serving a bedroom and a garage might look easy on paper: one outdoor unit, two indoor heads, and a couple of line routes. In practice, the bedroom route may need a clean, discreet wall exit while the garage head may be far from the outdoor unit. Each added indoor unit means another location to measure, secure, drain, wire, and connect.
What takes the time?
1. Planning each indoor unit
Before drilling, confirm that the head can be mounted securely and that air can circulate through the room. A unit tucked behind a door or aimed straight at a bed may technically run but feel uncomfortable. Check the manual for mounting clearances and plan a condensate drain route. Gravity drainage is simplest when feasible; a route that requires a pump adds equipment and another item to troubleshoot.
2. Mounting and drilling
Indoor heads need level, secure mounting plates. The hole through the exterior wall must be positioned to accommodate the lines and drain while maintaining the required slope and weather protection. Brick, concrete, siding details, and unexpected studs can turn a quick drilling task into a careful one. Take time to locate utilities and follow the specified wall-penetration method.
3. Routing and managing line sets
Long line set runs are a frequent source of extra work. Longer routes can require more careful measuring, protection, support, and weatherproofing, and may approach the manufacturer’s limits for total length or elevation change. Never assume that a unit’s listed maximum applies to every indoor head or combination; check the specific installation manual.
There is also the unglamorous detail many DIY videos skip: what to do with excess line set. Don’t kink it, crush it, or coil it into a tight bundle just to make the length disappear. Follow the manufacturer’s minimum bend radius and approved routing guidance, and plan a tidy, supported path before cutting or connecting anything. A bulky coil can look bad, take up space, and make later service harder.
4. Outdoor unit placement and electrical work
The condenser needs a stable location with required airflow and service clearances. In snowy climates, consider how drifting snow and roof runoff could affect it; use the manufacturer’s guidance for any stand or mounting arrangement. Set the unit where it can be serviced, not behind a fence or under a deck with no access.
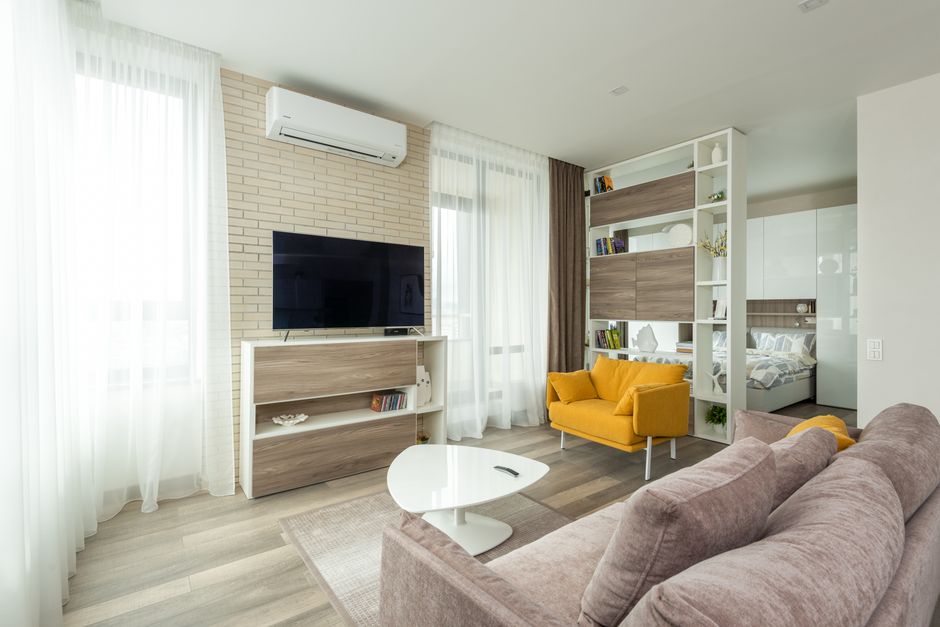
Electrical requirements depend on the equipment. The nameplate and installation instructions—not a guess based on a similar-looking unit—determine circuit and disconnect details. If new wiring or panel changes are needed, a qualified electrician can keep that part of the job safe and compliant. Scheduling that work may be the reason the project misses the weekend, even if the mechanical installation goes smoothly.
5. Startup and checks
Don’t rush startup to meet a Sunday-night deadline. Follow the manufacturer’s commissioning steps, inspect the connections and drainage, and verify that each zone operates correctly. If the instructions call for special tools or checks you do not have, stop and arrange qualified help. Leaks, poor drainage, incorrect wiring, and damaged fittings are easier to address before the system is buttoned up.
DIY multi zone heat pump: is it a good fit?
A diy multi zone heat pump can be appealing when you want room-by-room heating and cooling without installing ductwork. It may suit a home addition, a finished attic, a detached office, or a garage with appropriate insulation and equipment sizing. Multi-zone systems can also reduce the need to condition rooms that are rarely used.
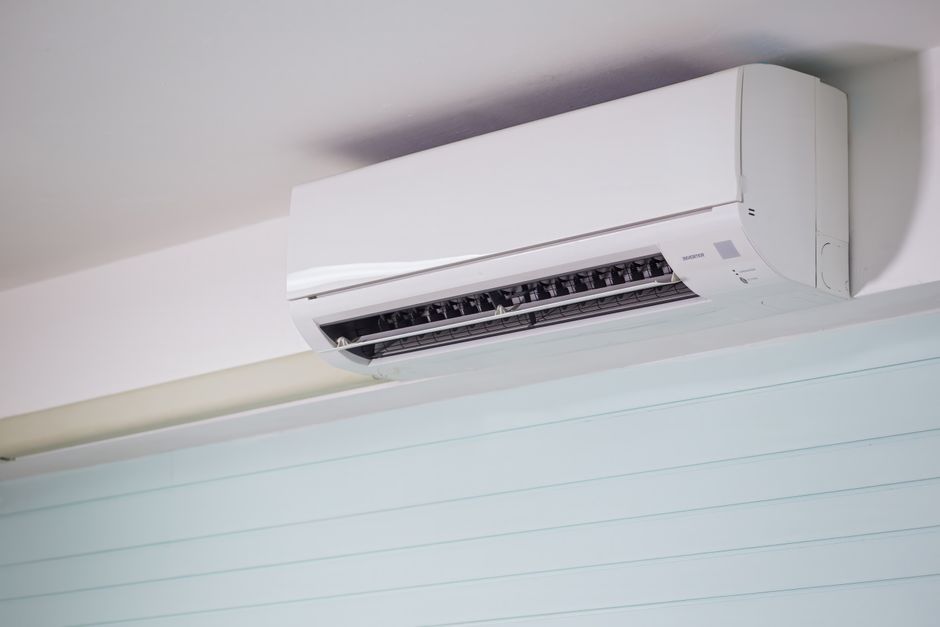
But zoning is not a substitute for proper sizing. A system that is too large can satisfy a room quickly and cycle more than intended, while an undersized unit may struggle during extreme weather. The capacity available from a multi-zone outdoor unit can also be shared among indoor heads; don’t assume every room receives its full listed capacity at the same time. Use a proper load calculation and confirm the manufacturer’s permitted combinations.
Consider whether one multi-zone system is actually the best layout. Separate single-zone systems can offer more independent operation and simpler line routing in some homes, although they require additional outdoor equipment and may cost more to install. Ask an installer or manufacturer support team to review the proposed room sizes, insulation, window exposure, and line routes before ordering.
Zone Air vs. MRCOOL: compare the whole value, not just the sticker price
When comparing Zone Air and MRCOOL, start by https://homesandexterior.com/best-diy-mini-split-heat-pump-2026-mrcool-vs-competitors/ confirming what each quote or package actually includes. Product price alone doesn’t tell you whether you’re comparing the same number of zones, capacities, line lengths, accessories, electrical scope, or level of support. A lower initial price can be good value if the equipment fits the house and the installation plan is complete. It can be a false economy if key parts, professional labor, or service support are missing.
Compare Questions to ask System match Are the outdoor unit, indoor heads, and room capacities compatible? Installation materials Are line sets, wall sleeves, brackets or stands, drains, and required accessories included? Support and service Who helps with setup questions, and who handles repairs or parts claims? Warranty terms What registration, installation, maintenance, and proof-of-purchase conditions apply? Total project cost Have you included permits, electrical work, tools, delivery, and possible contractor help?MRCOOL is a recognizable name in the DIY mini split category, but don’t let brand recognition replace model-by-model research. Check the manufacturer’s current documentation and look at customer feedback on Trustpilot by searching for mrcool.com reviews. Reviews can help identify patterns in purchasing, delivery, or customer service, but they don’t prove that a specific system will fit your home or that every warranty claim will be easy. Read recent reviews, look for details about the same product line, and compare them with the written warranty and support process.
For Zone Air, evaluate the specific system and the seller’s support, not just the name on the quote. Confirm who is responsible for answering installation questions, how parts are obtained, and what happens if a component arrives damaged or the selected configuration is incompatible. With either option, get the model numbers and terms in writing. Warranty coverage is subject to conditions, and it should not be treated as a guaranteed no-hassle repair plan.
SEER2 efficiency and the operating-cost logic
SEER2 is a seasonal cooling-efficiency rating measured under updated testing procedures. A higher SEER2 rating generally indicates less electricity used for a comparable amount of seasonal cooling under the rating conditions. But the number alone does not tell you what a system will cost to run in your house. Heating performance, climate, thermostat settings, insulation, equipment sizing, electricity rates, and how many zones you operate all matter.
For a rough cooling-cost comparison, think in terms of cooling demand divided by efficiency, then multiplied by your electricity price. The rating is not a direct prediction of your bill: real homes have different weather, loads, and operating habits. Ask for the system’s published performance data at relevant outdoor temperatures, not only its headline SEER2 figure.
Compare two systems of similar capacity and intended use, then ask whether the price difference is likely to be worthwhile given your expected hours of operation and local utility rate. In a lightly used guest room, paying more for a higher rating may have a different payoff than in a frequently occupied living space. Avoid vague claims like “high efficiency” unless they’re backed by the actual SEER2 number and heating-performance data.
Cold-climate performance and “Hyper Heat”
Mini splits can heat effectively in cold weather, but output and efficiency change as outdoor temperatures fall. Check the manufacturer’s capacity tables at temperatures relevant to your climate, including the unit’s rated low-temperature operating range and the amount of heat it can deliver at those conditions. A system that can run at a low temperature may still deliver less capacity than it does in mild weather.
“Hyper Heat” is associated with specific cold-climate product lines; it should not be used as a generic promise that any mini split will heat a house through every winter. Confirm the exact model’s low-ambient heating specifications and ask whether supplemental heat is needed for the coldest days. Defrost cycles can also affect comfort and energy use. For a northern bedroom or a garage workshop, the relevant question is not just whether the unit turns on in the cold, but whether it has enough capacity to maintain the desired temperature.
Controls, including Google Assistant
Some mini split systems can integrate with Google Assistant through a compatible Wi-Fi module, app, or third-party controller; compatibility varies by model and setup. Verify the exact indoor-unit model and required accessories before counting voice control as part of the package. Google Assistant can make routine temperature changes convenient, but it does not replace correct sizing, commissioning, or a reliable wall controller.
So, should you reserve the whole weekend?
Yes—reserve a full weekend for a simple two-zone project, and keep extra time available. For a larger system or complicated routing, plan for more than a weekend or hire out the parts that exceed your experience. Before ordering, make a room-by-room plan, verify line lengths and system compatibility, confirm electrical and permit requirements, and decide who will handle any work that is not truly DIY-friendly.
- Read the installation manual for the exact system and confirm all zone combinations.
- Measure each route and check total line length, elevation limits, and approved bends.
- Plan drains, wall penetrations, outdoor-unit access, and a code-compliant electrical scope.
- Compare complete quotes from Zone Air, MRCOOL, or other sellers, including support and warranty terms.
- Check SEER2 and cold-weather capacity data against your climate and expected use.
- Schedule an electrician or HVAC professional early if the project needs their expertise.
A well-planned DIY multi-zone installation can save labor and bring targeted comfort to bedrooms, additions, and garages. The time savings disappear, though, when a long line set is routed poorly, a circuit is overlooked, or a warranty assumption proves wrong. Treat the weekend as a realistic work window—not a guarantee—and judge the project by safe, correct installation rather than how fast the indoor heads get onto the wall.